If you haven’t experienced issues with Windows updates in Windows 10, you’re one of the luckiest ones. Months after Windows 10’s release, Windows Update is still buggy as heck. Now that Microsoft is pushing all updates to run your PC smoothly through Windows Update, you’d think they’d invest more effort in fixing issues that prevent users from downloading said updates.
Troubleshoot Windows Update Issues in Windows 10
There are several different ways to troubleshoot Windows Update issues in Windows 10.
Step 1: Built-in Windows 10 Update Troubleshooter
This troubleshooting step works for the majority of Windows Update issues.
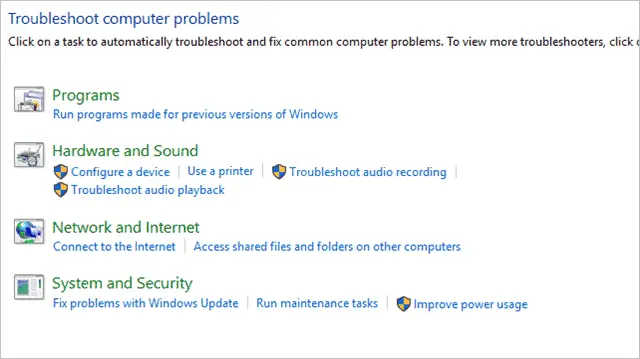
Open the “Control Panel,” then search for “Troubleshooting” or simply search for the latter via Cortana.

Click on “Fix Problems with Windows Update” under the System and Security section at the bottom of the results.
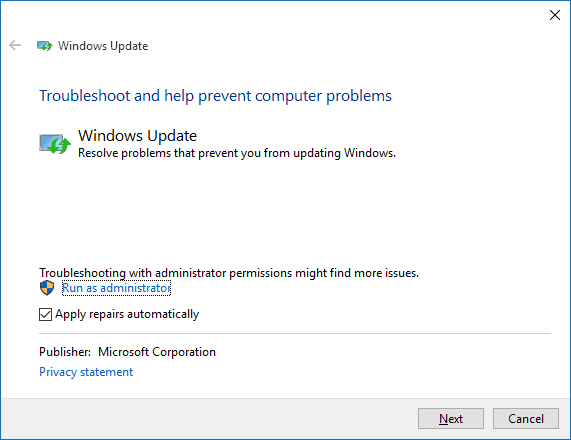
Click on “Advanced” in the lower left-hand corner and click “Run as administrator.” This will reopen the troubleshooter as an administrator, which is best for troubleshooting and applying fixes.
Now, click “Next” to start troubleshooting Windows update problems.
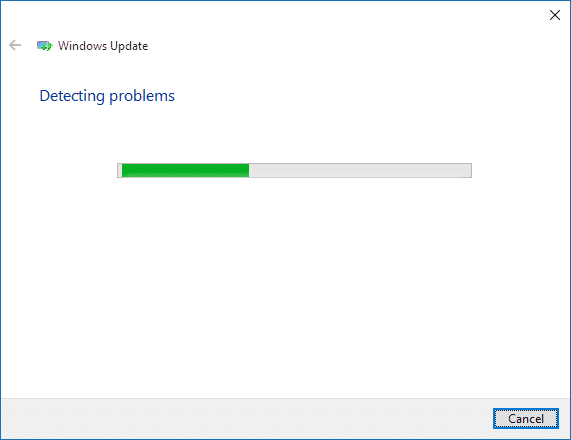
This may take a few moments.
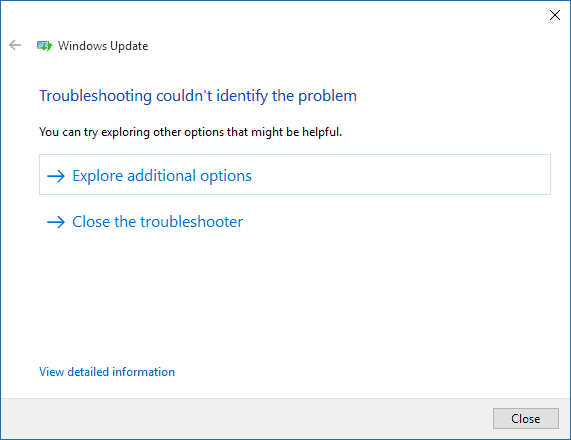
If it finds any issues, it’ll offer solutions and fixes. Follow any prompts to run through the troubleshooter at this stage as it’ll vary from PC to PC.
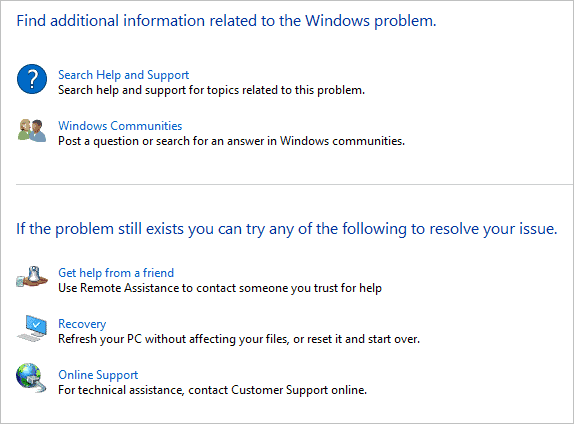
If you find no issues, you can click “Explore additional options” to get more help online or from Microsoft directly.
Step 2: Restart Windows Update Service
This is a general Windows 10 update troubleshooting step.
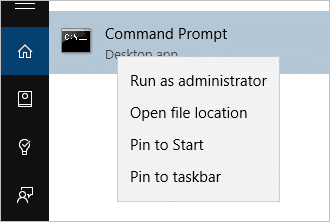
In order to do some higher level troubleshooting, open an administrator-elevated Command Prompt.
Run the following commands:
NET STOP WUAUSERV
REGSVR32 %WINDIR%\SYSTEM32\WUPS2.DLL
NET START WUAUSERV
You can cut and paste them all at once, they’ll run successively.
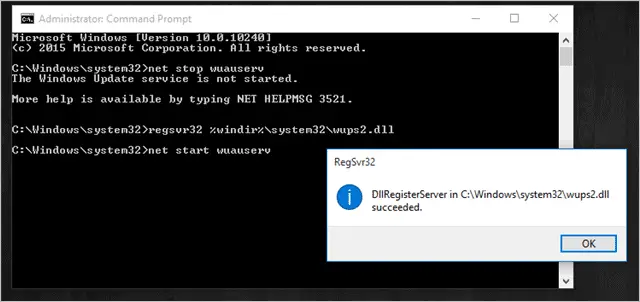
When the final command runs, you’ll close the pop-up, then click “Enter” in the Command Prompt to turn the Windows Update service back on.
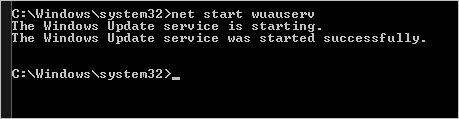
Restart your PC, then go use Windows Update to see if that fixed it.
Step 3: Manually Clearing Windows 10 Update Cache
If Windows Update isn’t working after the above two troubleshooting steps, this is your next step to try.
In some cases, you may need to clear out the windows Update cache to get Windows Update to download new updates or finish an update it gets stuck on.
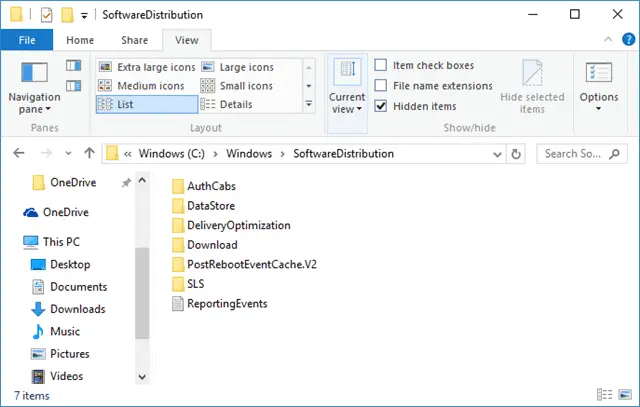
Navigate to the following folder:
C:\WINDOWS\SOFTWAREDISTRIBUTION
Click the “View” tab and check the box next to “Hidden items” to show everything in the folder.
Delete everything.
A few files won’t be able to be deleted, just skip them.
Now, restart your PC and try Windows Update again.
Step 4: Cycle Your Network
In a last ditch effort to troubleshoot, you should flush your DNS settings along with resetting the WinSock protocol for your Windows 10 PC.
Open an administrator-elevated Command Prompt and copy and paste the following commands at once:
IPCONFIG /FLUSHDNS
NETSH WINSOCK RESET
NETSH WINSOCK RESET PROXYLING
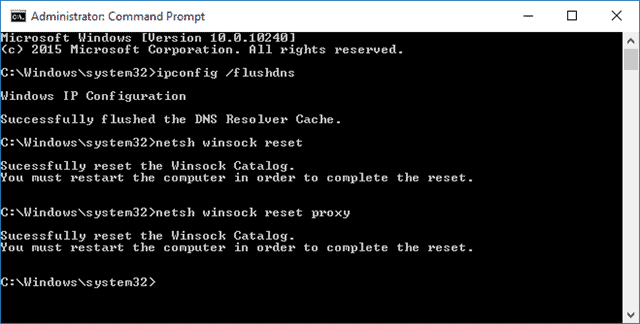
Once run, you’ll need to restart your PC for the reset to take place. Turn off your PC instead and cycle your home network like you normally would, then turn on your computer and try Windows Update one more time.
Once run, you’ll need to restart your PC for the reset to take place. Turn off your PC instead and cycle your home network like you normally would, then turn on your computer and try Windows Update one more time.
Conclusion
If Windows Update in Windows 10 is still giving you trouble, we recommend reaching out to Microsoft and troubleshooting with them directly. In some case, they have tools consumers won’t have access to in order to narrow down and correct the issue. If Windows Update has you frustrated, try the above steps, then contact Microsoft if Windows Update is still getting you down.
No comments:
Post a Comment